
Laying down fresh sod is a great way to establish a new lawn. When first installed, sod usually looks green and healthy. In some situations, though, freshly laid sod can start to wilt, develop brown spots, or die altogether.
Supporting new sod is different than caring for an established lawn. Understanding what newly installed sod needs to thrive will make all the difference in creating a beautiful lawn that lasts.
Understanding Sod
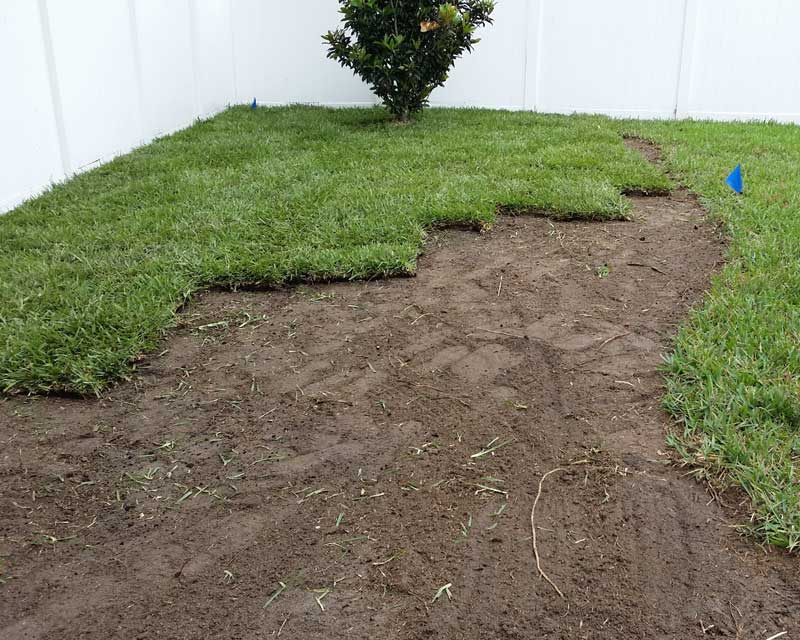
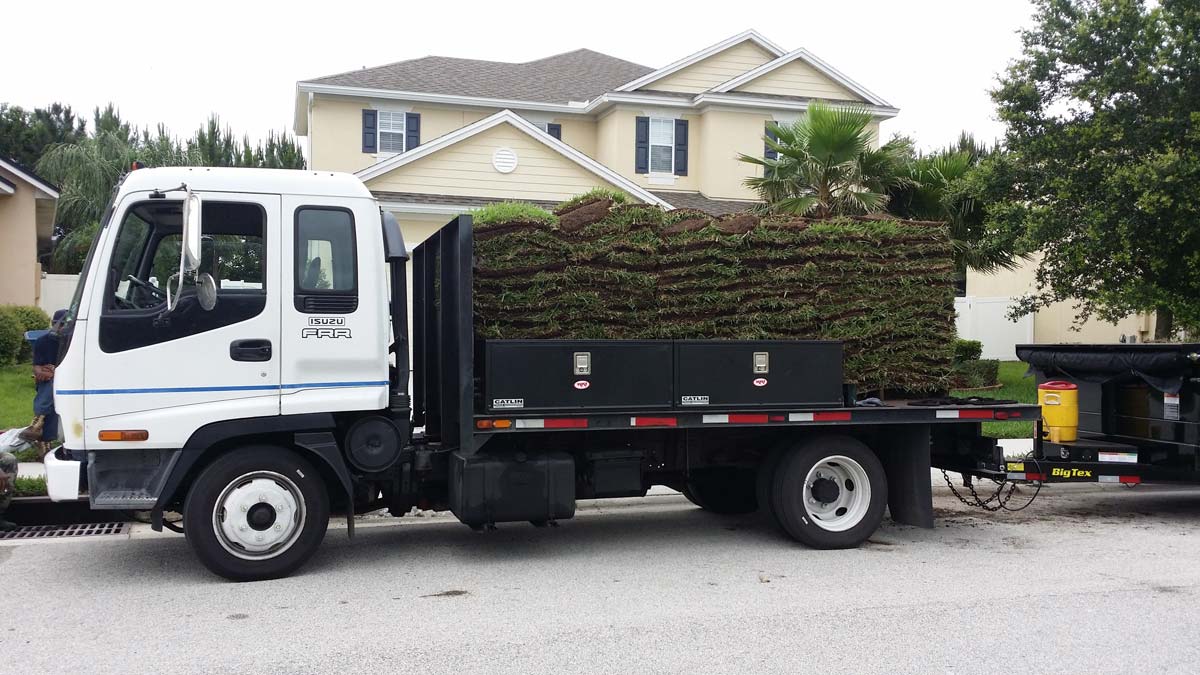
Sod is a living system of grass blades and roots, along with a thin layer of soil. You can purchase it in rolls or sheets and lay it on bare ground to create a new lawn.
Using sod gives you the look of a full lawn right away, but it still takes time and care for sod to take root so that the grass layer survives and thrives. Executing the right pre– and post-installation actions is critical to attaining a lasting lawn you can enjoy.
Soil Preparation
When you lay sod, you’re bringing together two different layers—the grass’s root layer and the existing soil layer. It’s important to ensure the soil is as hospitable as possible for grass roots so they can penetrate and sustain long-term lawn growth.
Soil preparation will look different depending on where you are and what kind of soil you have. However, a few general rules of thumb typically help regardless:
- Assess soil compaction and break up dense or compacted soil as needed
- Remove rocks and debris
- Mix in compost or loamy soil to improve soil quality
Overall, your soil should allow roots to penetrate easily and provide adequate nutrition to support new growth while the sod takes hold. Remember—it’s far easier to address soil compaction and composition before laying sod than to do so retroactively.
Proper Installation
Installing sod isn’t as simple as tossing it on the ground and hoping for the best. It’s critical to create good contact between the sod and the soil to eliminate air pockets. Again, creating a strong connection between the roots and the soil is what will allow your sod to grow and thrive into a true lawn.
The best way to ensure proper installation is to work with a qualified landscaping contractor. They have the knowledge and experience to effectively and efficiently eliminate air pockets without damaging the sod in the process.
If you’re installing sod on your own, you should make sure the sod sits firmly on the soil layer in all locations. You may need to level the soil before installation or add soil or compost to fill in air gaps along the way.
It’s also possible that some sections of soil will settle after installation, creating new air gaps. If you notice browning sections of sod or visible dips in the grass, you may need to carefully lift the sod to add more soil and/or compost beneath it to resolve the issue.
Watering 101
New sod typically needs twice-daily waterings for the first week so that the delicate root layer stays moist and has a chance to connect with and grow into the underlying soil. If the roots dry out or if the soil is too dry to support new root growth, those sections of sod will likely turn brown and die.
In the second week after installation, you can usually move to once-daily watering. The goal over these first two weeks is to keep the top 4–6 inches of soil moist throughout the day.
On the flip side, however, it’s also critical to avoid overwatering new sod. Too much water will saturate the soil, setting the stage for root rot or fungal growth. If your sod starts to look yellow or brown despite regular watering, or if the ground feels soggy, you may need to decrease the watering frequency or amount.
As with any outdoor watering, you also need to factor in weather conditions and precipitation. If your area experiences excessive heat, you may need to water your sod more frequently or for longer—or the opposite if there’s a great deal of rain.
New Lawn TLC
Newly laid sod is relatively delicate and can easily be damaged. It’s important to treat it gently until the root system is fully established.
To keep your new sod healthy and growing, try to avoid walking on it, and walk as lightly as possible when you have to. You should also hold off mowing until you’re sure the grass has properly taken root.
To assess root growth and depth, gently pull up one corner of a piece of sod. If it comes up easily, the roots still need time to establish. If you feel resistance, it means the roots have begun to take hold in the underlying soil, and your lawn is ready for light use. Perform this test in at least two locations to properly assess the whole lawn, not just one part.
Even if your lawn looks lush and healthy, you still need to assess root health before using or mowing it. Sometimes, sod can be ready for light use after a week, but it could take up to six weeks depending on the sod, soil, environment, and installation process.
Mowing New Sod
Mowing sod too early will disrupt root growth, potentially pulling up roots that are starting to grow or compacting the soil before roots have a chance to establish. Before you mow, make sure the roots are strong enough using the root attachment test outlined above.
You should also consider these mowing specifics to protect your sod while it’s new:
- Use a push mower rather than a riding mower to avoid soil compaction
- Walk as lightly as possible while mowing
- Remove only the top third of the grass blades (a 3-inch height is a good starting point) so there’s plenty of blade left to support lawn health through photosynthesis
- Leave grass clippings on the lawn to be reabsorbed and provide additional nutrients to the grass roots
Regular mowing is important for encouraging lawn growth and health, but mowing too early can undo all the hard work of installing new sod. When it comes to new grass, early patience leads to a lasting lawn.
If you need assistance with installing or managing new sod in Jacksonville or the surrounding area, call Daniels Landscape & Irrigation, LLC, today. We are your go-to landscaping team in Jacksonville, with over 29 years of experience delivering the beautiful lawns and gardens homeowners dream of. You can count on us for outstanding customer care and superior landscaping expertise. As a family-owned company, Daniels Landscape & Irrigation, LLC, is committed to providing personalized services tailored to your needs. Daniels Landscape & Irrigation, LLC—Quality and Service You Can Trust!